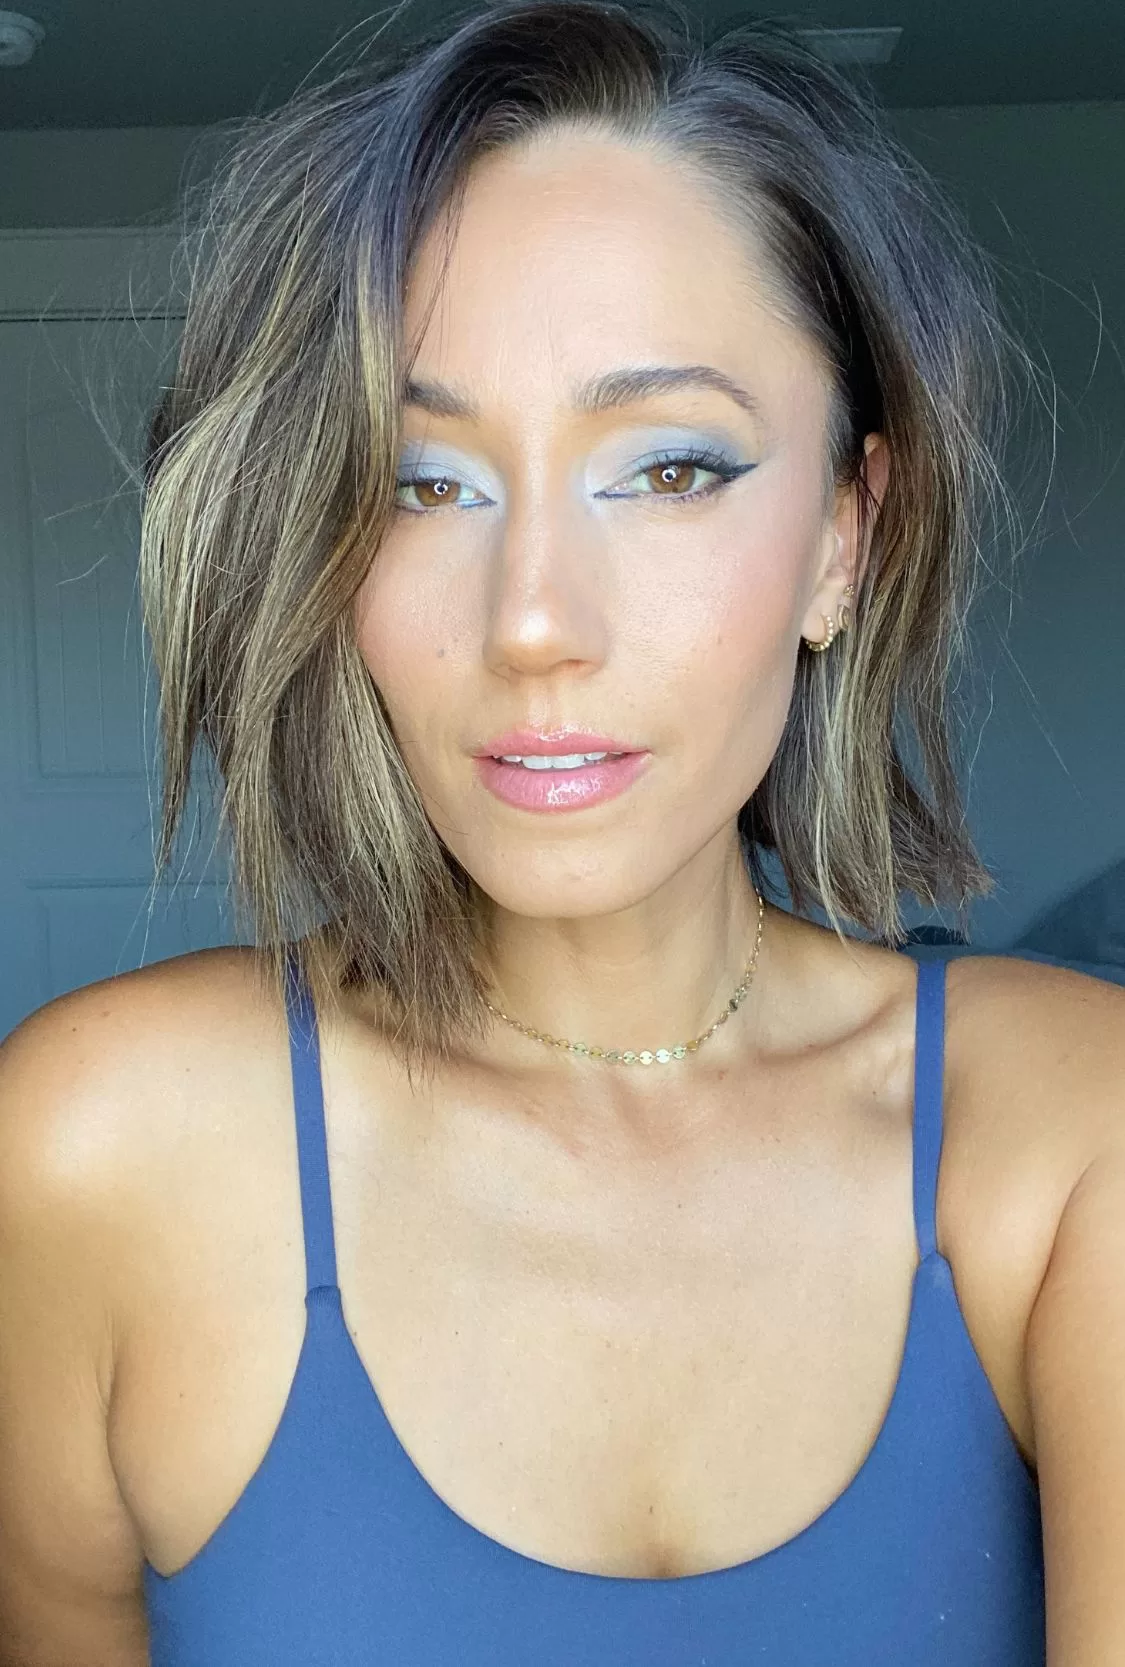
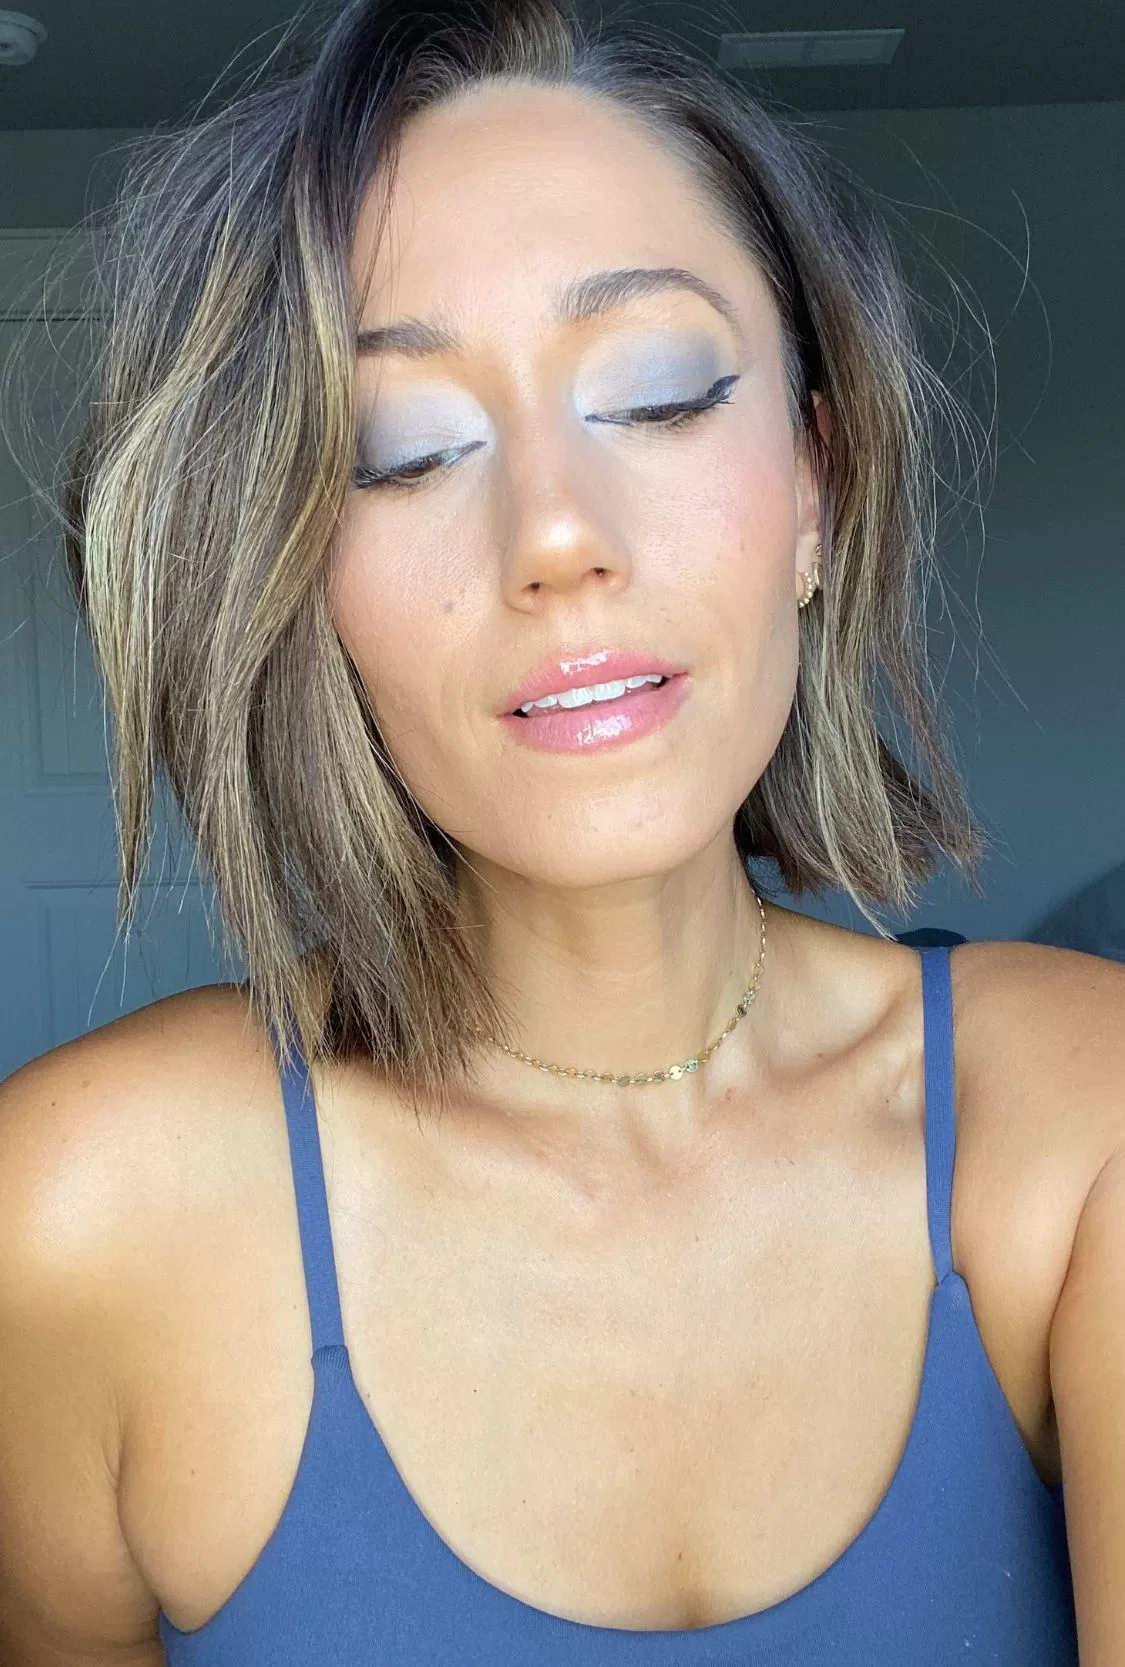
Blue eyeshadow looks…not just for the ’80s.
Blue eyeshadow can be a great way to add a pop of color to your makeup look. But when it’s not done well, it can look like someone gave you a black eye. The key is to choose the right shade and apply it correctly.
If you want to create a subtle look, opt for a lighter shade and use a light hand when applying it.
For a more dramatic look, darker shades of blue work best, and you can use a heavier hand to get the desired effect. No matter what look you go for, wearing blue eyeshadow is fun!
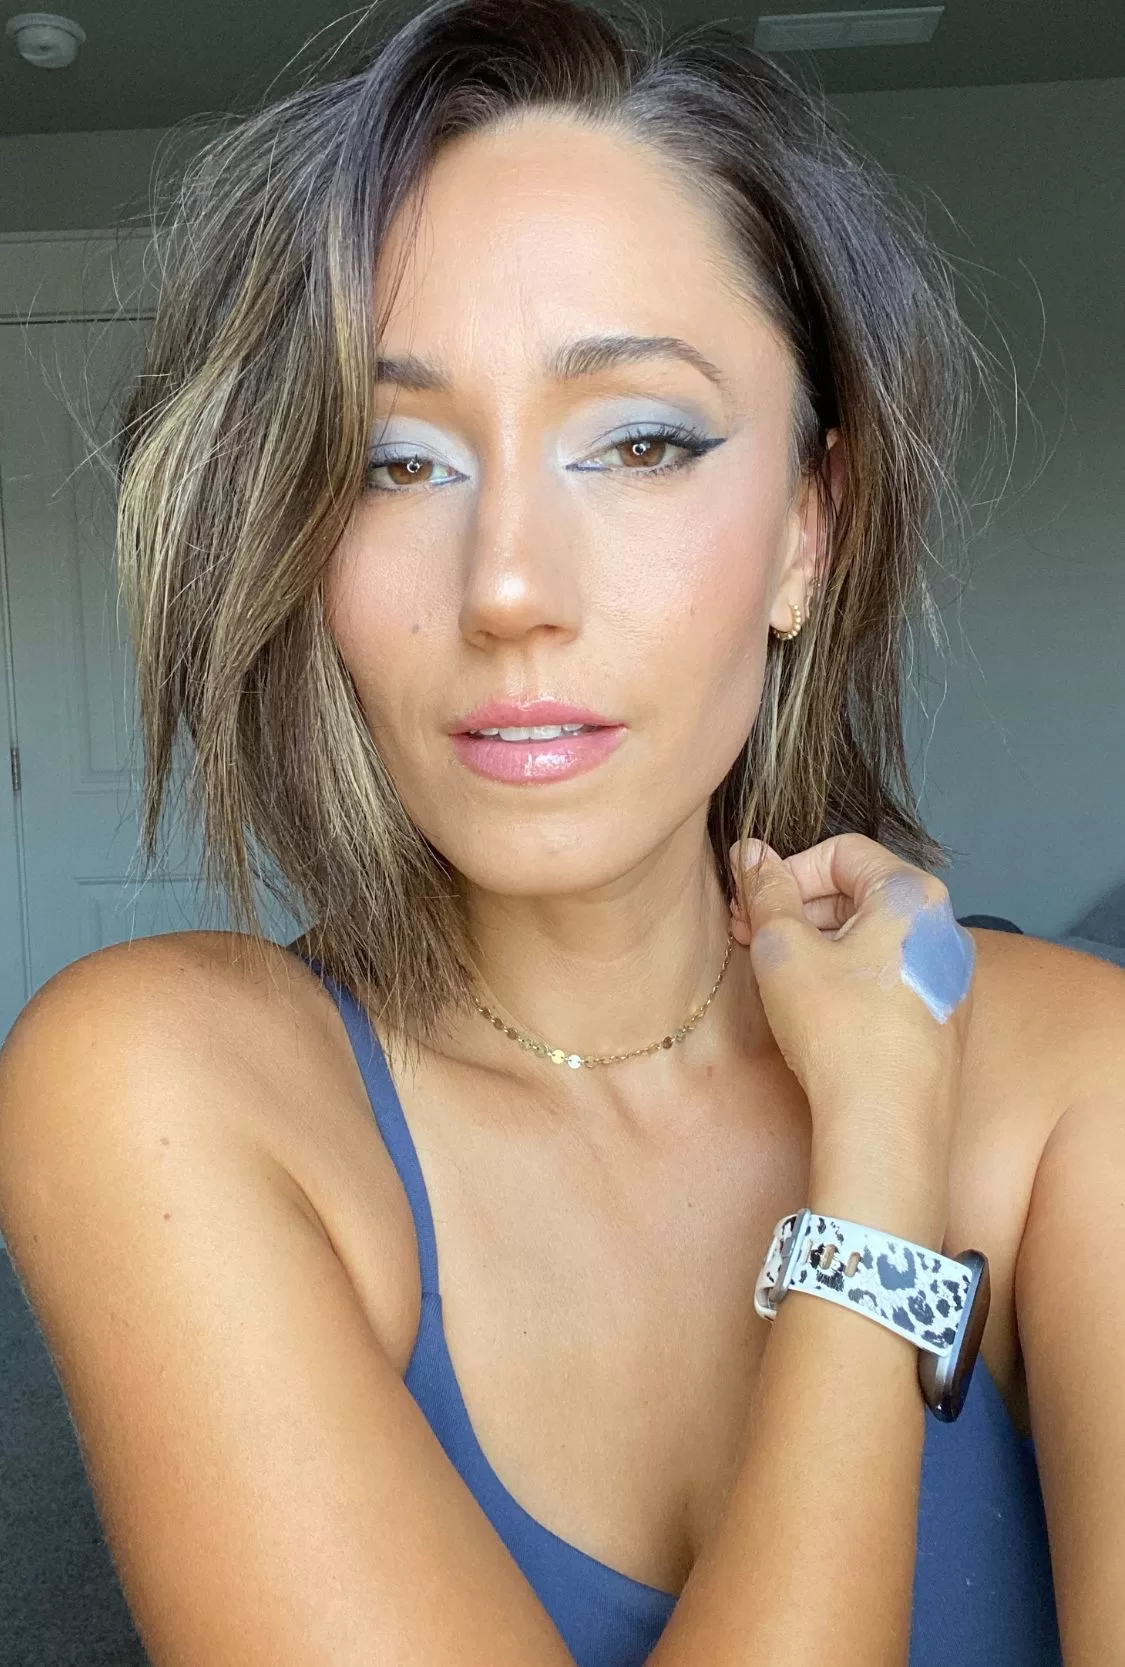
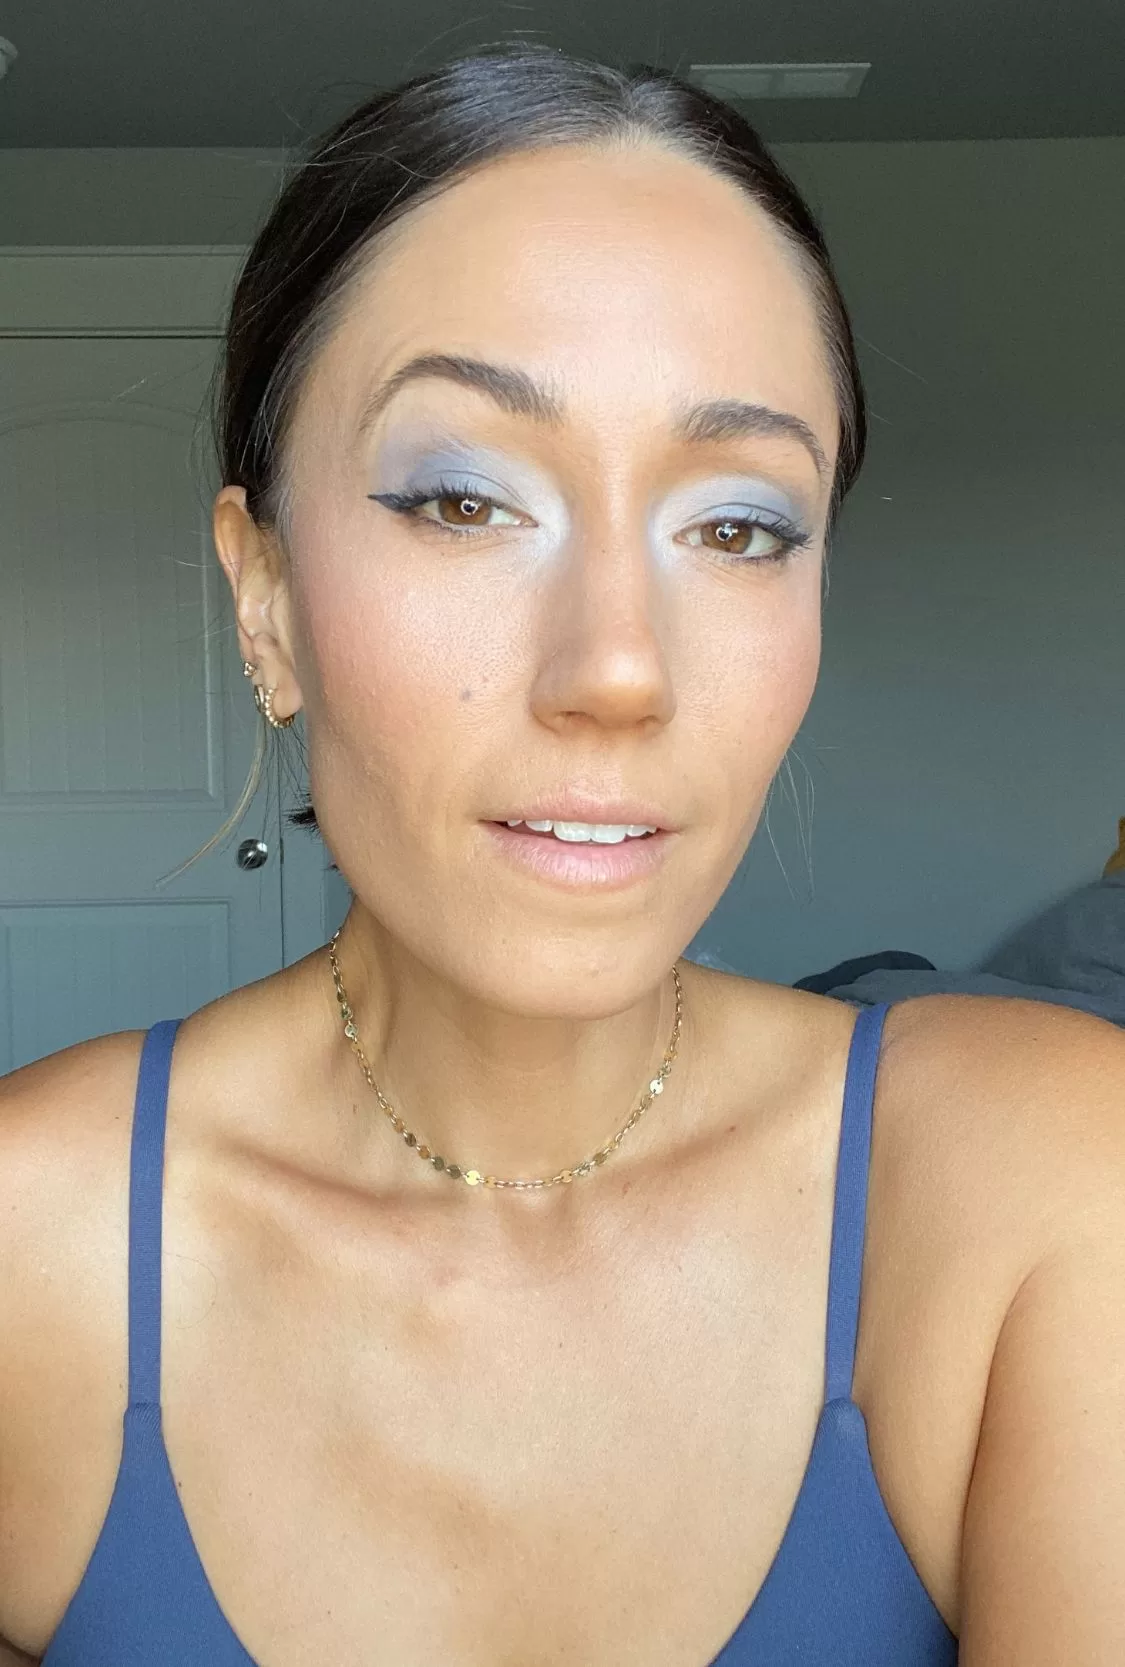
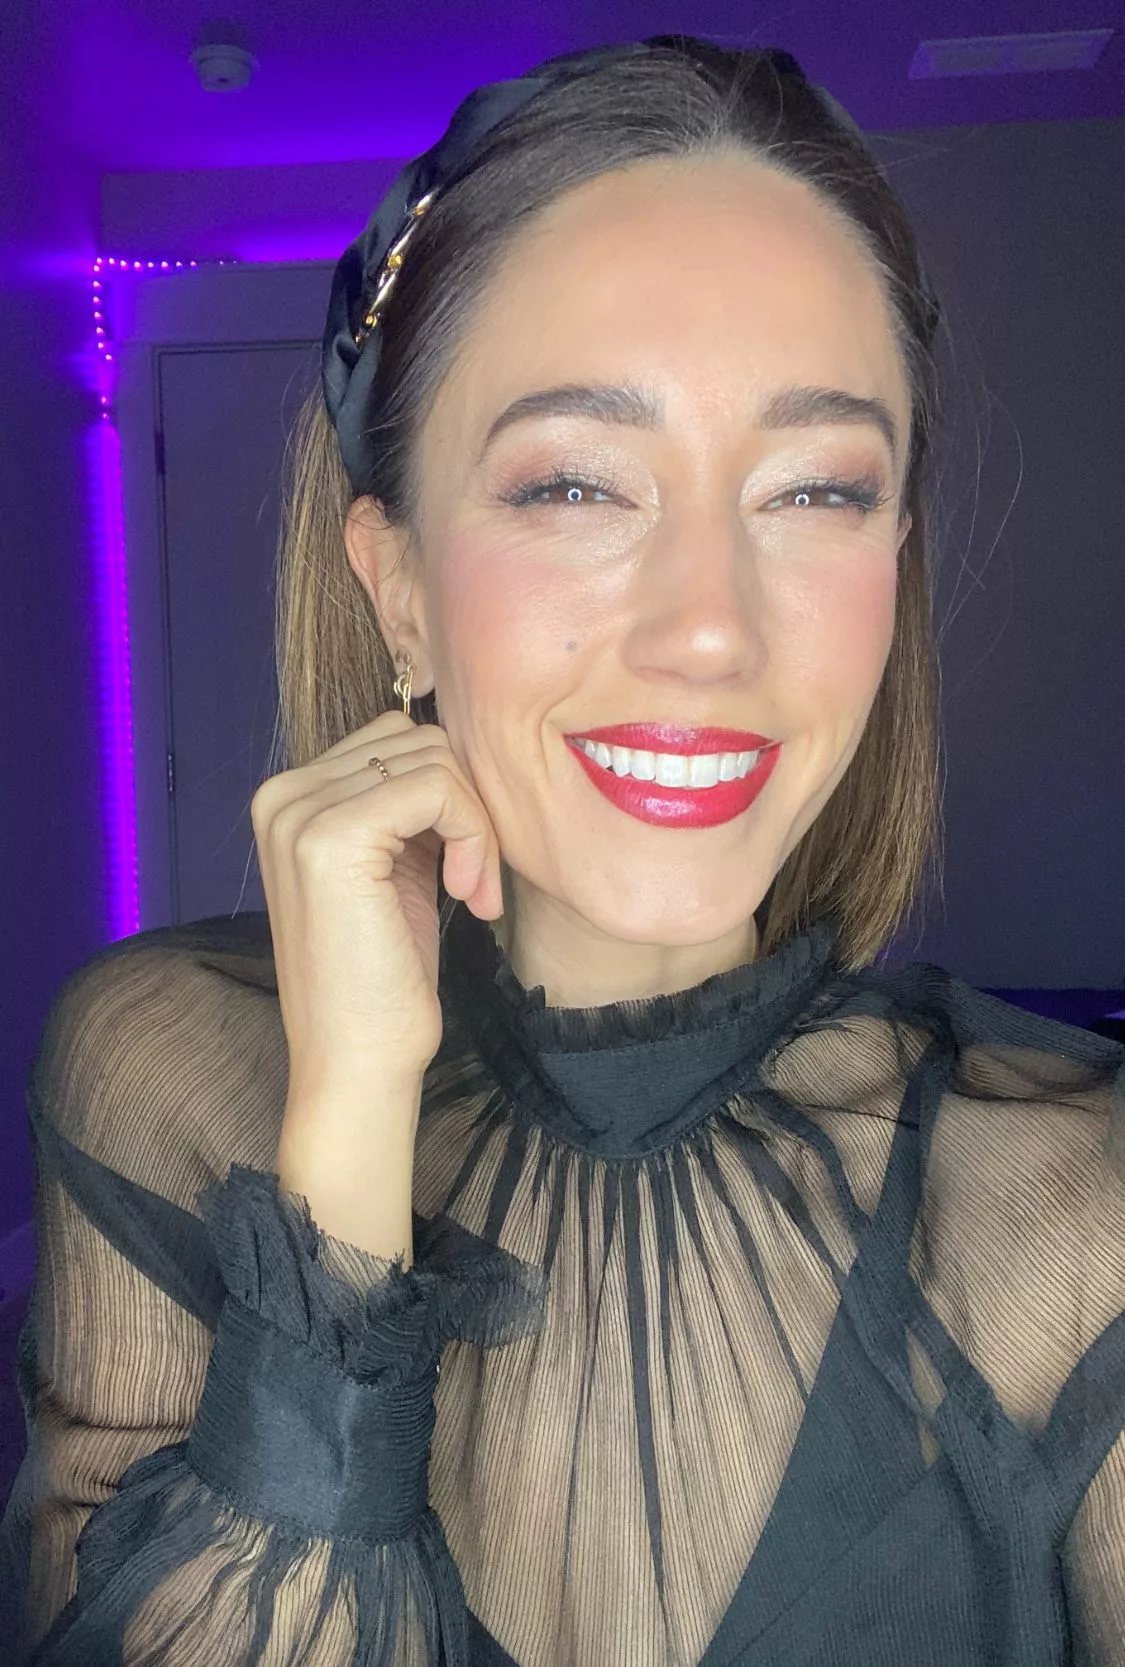
In this look, I didn’t even use blue at all. This color was created with only black and white eyeshadow! Keep reading to find out how.
Base Face
In this look, I am using Medium Color Correcting Tinted Moisturizer as my base layer. But if you prefer fuller coverage, then you could use the MakeSense Foundation in your shade (contact me if you need help color matching).
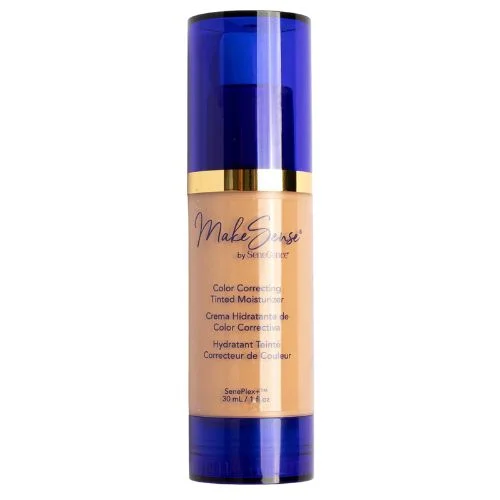
Color Correcting Tinted Moisturizer: Medium
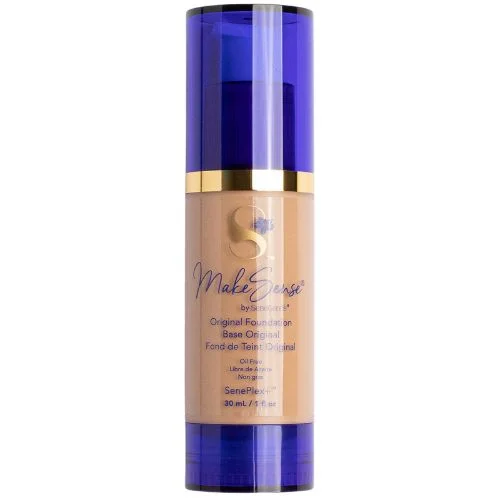
MakeSense Foundation: Tan
ShadowSense for Blue Eyeshadow looks
Here’s what I used…
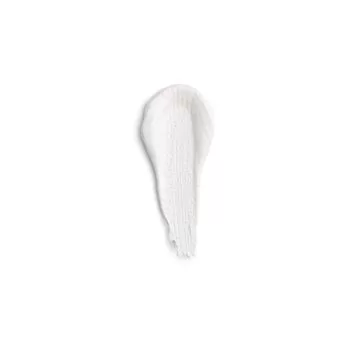
Lighter Shade: Snow ShadowSense
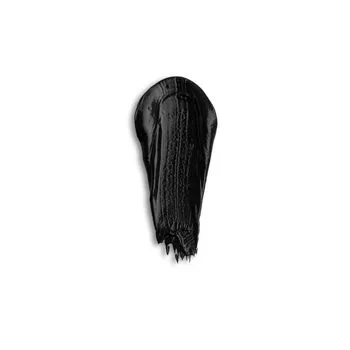
Darker Shade: Onyx ShadowSense
But you could also try…
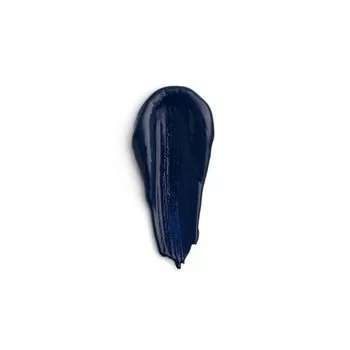
Denim ShadowSense
How to Apply Onyx and Snow ShadowSense for a Blue Eyeshadow Look
This application was quite a bit different than my normal Ombre technique.
Step 1: Start by mixing the two colors on the back of your hand like you would mix paint on a color palette. Mix until you get your desired shade.
Step 2: Use a blending blush to pick up the color and blend it all across your lid and even extending a little further on the outside.
Step 3: Now use the Snow ShadowSense to add some highlight by dabbing a small amount into the inside corner of your eye then using your finger to blend outward using a dabbing motion.
***Steps 4-6 Are optional for a “Cat Eye” look***
Step 4: Use the Onyx ShadowSense as a liquid liner to create a “cat eye” by drawing a short, thin line from the outside corner of each eye and angling up toward the end of your brow at about a 45 degree angle. ***Pro Tip*** Use a business card as a guide to get a really crisp clean line.
Step 5: Now use the Onyx ShadowSense to line both your upper and lower lash line by starting at the inside corners and following the line outward.
Step 6: Finally, Use the Onyx ShadowSense to connect your wing to you upper and lower lash lines with smooth curves and fill in any holes.
LipSense & Gloss
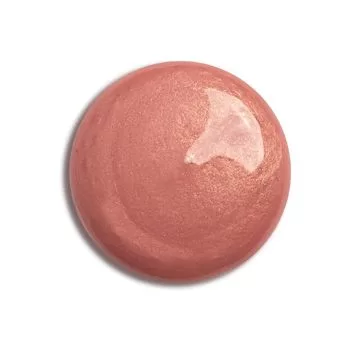
Pink Champagne LipSense
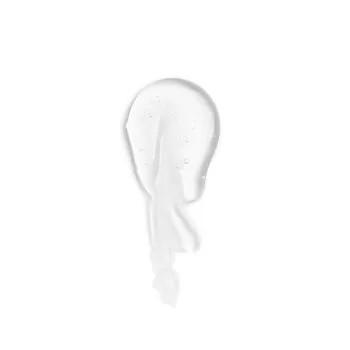
Glossy Gloss
Pink Champagne and Glossy Gloss is a combination that looks great on everyone.
If you are new to using LipSense the process might seem a bit overwhelming, but remember, this color is going to last ALL DAY! And after you have applied it a few times, you will be a pro.
How to Apply LipSense for Long Lasting Color:
Step 1: Clean your lips and dry thoroughly.
Step 2: Shake LipSense tube well.
Step 3: Open the tube and wipe off any excess product from the applicator wand.
Step 4: With your lips parted place the applicator on one corner of your bottom lip and use a sweeping motion to brush the product on all the way to the other corner. DO NOT sweep back and forth.
Step 5: Use the same technique to apply the product to your top lip.
***Allow lips to dry for 5-10 seconds in between coats***
Step 6: Repeat steps 4-5 two more times (3 coats on each lip).
Step 7: Apply gloss all over lips to set in your gorgeous new color! (Apply gloss as often as necessary)

